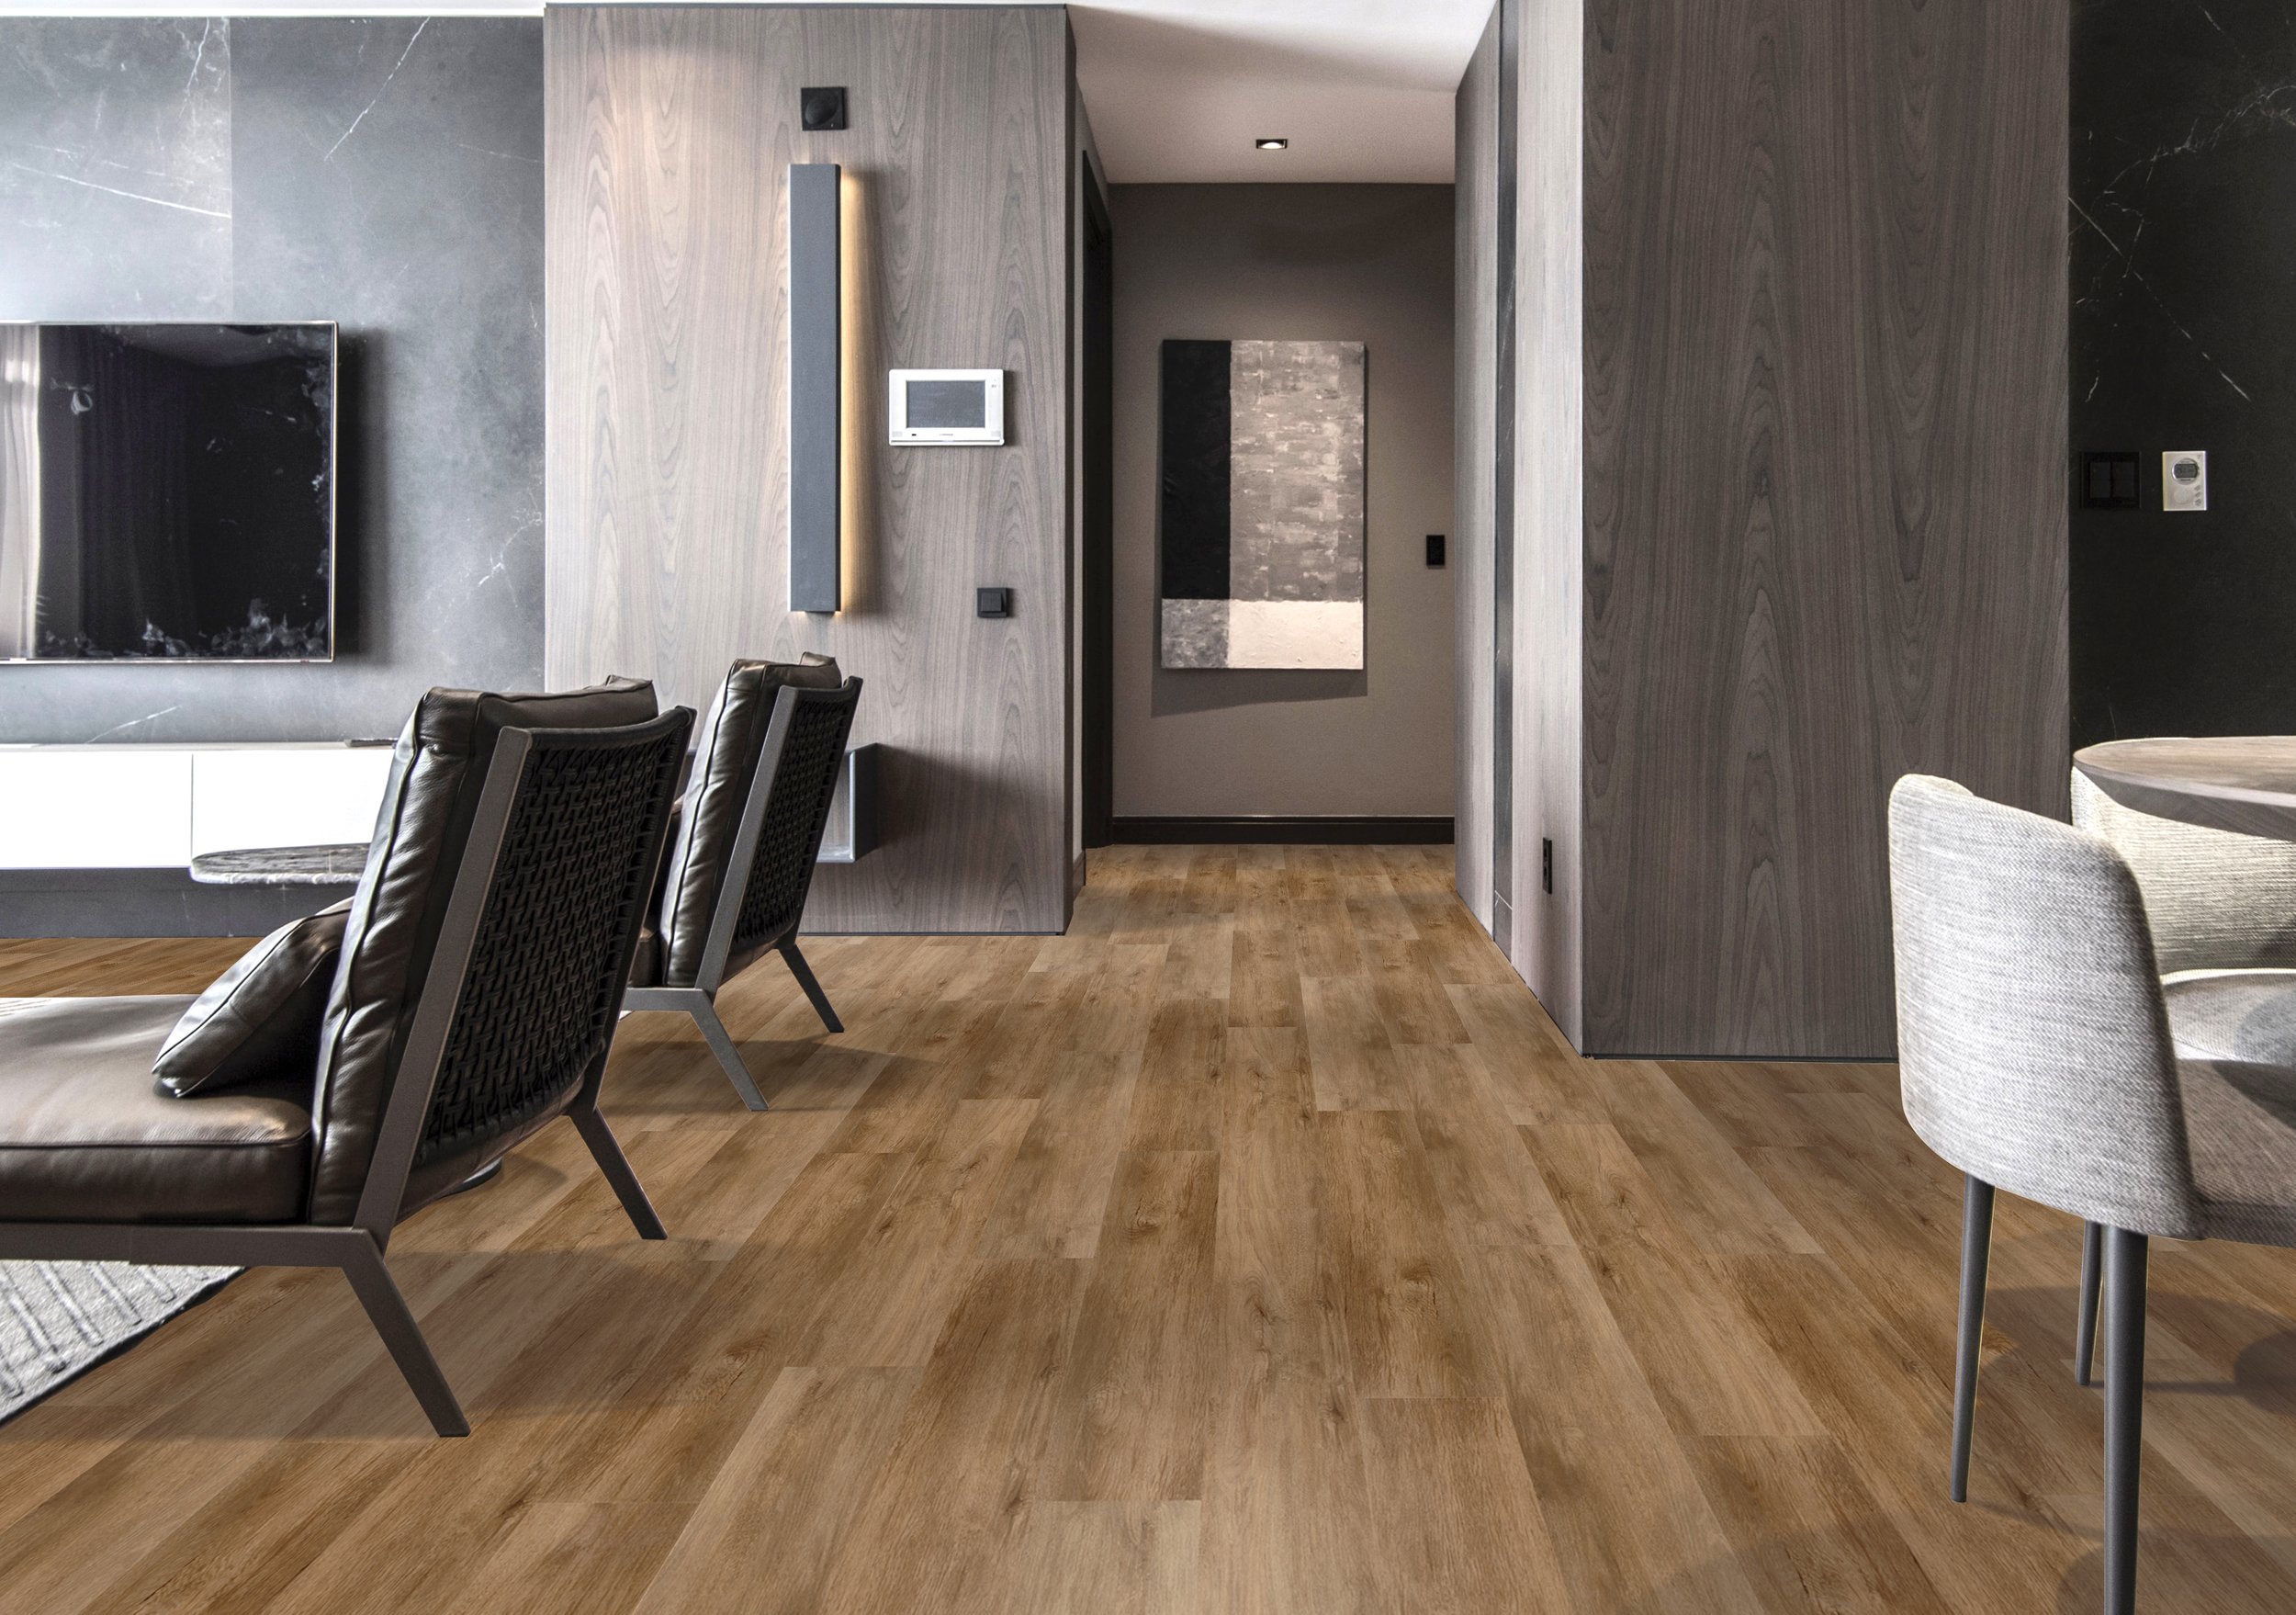
KIM KOREA LUXURY VINYL TILES
DESIGNED FOR EASY MAINTENANCE
손쉽게 청소 및 관리, 당신의 삶을 쉽게 만듭니다
10 TIPS TO CARE FOR & MAINTAIN YOUR VINYL TILES
유지 관리

Use office chairs type W and seats with soft wheels that are suitable for a vinyl floor and/or use a suitable floor protector mat.

Protect furniture and chair legs with felt floor protectors to prevent scratches or stain on your vinyl floor

Do not allow cigarettes, matches or other hot items to come in contact with the floor as this may cause permanent damage.

Corrosive substances such as acid and alkaline solutions can damage the surface of the floor. Clean up spills quickly and carefully, avoiding direct contact with the substance. Do not use paint thinner to clean your vinyl floor.

Sweep or vacuum the floor with a soft broom to remove all dirt and grit. Do not use a beater-bar vacuum cleaner or steam cleaner on your vinyl floor.

Spills should be cleaned up immediately. Damp-mop the floor using a clean mop. When necessary, mop the floor with a solution of clean water and hard surface cleaner. Never use a wire or nylon scouring pads, powder abrasive cleaners, bleach or strong detergents on your vinyl floor.

Rubber feet on furniture or bicycle tires may cause staining. To avoid these, place an offcut of the vinyl floor or felt pads between them and the floor. Use bike stand to lift your bicycle, Bitumen/tar from freshly resurfaced roads and pathways, some shoe with inferior rubber soles can also cause stains on vinyl.

Never push, pull, or drag furniture across vinyl floors. Always lift and carry.

Protect floor from dirt and grit by placing non-staining, natural fiber doormats at all external doorways. Rubber backing doormats may result in yellow discolouration on the vinyl floor.

Indentation marks from high pressure points, such as piano, washing machine and other heavy appliances are common. Avoid this by placing a hardboard sheet or castor cups on the pressure points.
BEHIND THE SCENES
준비
PREPARATION

ACCLIMATISATION
Kim Korea LVT must be acclimatized for a period of 48 hours in the premises of installation with a temperature range between 18°C–30°C. Carefully store or transport Kim Korea LVT on a dry, flat, level surface and do not store the boxes upright to prevent distortions of the LVT. The LVT must be carefully stacked squarely on top of one another and never hang over the edge.

LEVELING
Be aware that unevenness in the subfloor may leave marks in your Kim Korea LVT. Ensure that the subfloor is flat and even. Any unevenness of more than 0.5 mm over a length of 20 cm must be levelled, bumps to be removed by sanding and unevenness of more than 3 mm over a length of 2 m need to be levelled out too.

GROUT
Grout lines or gaps of more than 1 mm in depth and 4 mm in width should be levelled using a grout or levelling compound.

VACUUM
All subfloors must be permanently dry, clean, smooth, and structurally sound. The surface must be free of all dust, loose particles, solvents, paint, grease, oil, wax, alkali, sealing/curing compounds, old adhesive, and any other foreign material.

CHECK CRACK
Check the accuracy of the order. Ensure the materials are inspected for damage, defects, and satisfactory colour match before and during installation. Defective planks must never be used. Any claims of defective planks will not be accepted once the planks are used or installed.

CEMENT
The moisture content of the subfloor must be less than 6%MC and pH level should be between 7-10 for concrete.
INSTALLATION
설치

#2
Choose your starting wall. For best visual effect, we recommend fixing the planks in the direction of the longest wall and parallel to the incidence of light. Start the first row from the left corner of the room with a whole plank. Cut off the tongues on the long side of the planks used in the first row. Fit the planks with the cut side against the wall.

#4
Start your second row with a cut-off that is more than 30cm. Flooring must be installed in a staggered pattern. Insert the long tongue into the groove of the plank in the first row at an angle of 30° and rotate down. Move the plank slightly up and down while pushing forward. The planks will click together.

#5
To install the second plank of the second row, lock the short tongue of the second plank with the previous plank. Align the long tongue just over the groove of the plank in the first row. Working from the end seam, at a low angle, insert the long tongue into the groove of the adjacent plank. Tap the end joint to ensure a tight fit as is critical to keep the first two rows straight.

#6
Work across the length of the room and check for squareness and straightness regularly before continuing installation. Never block the floor and do not install built-in cabinets on planks.

#7
Inspect the final surface of the installed floor. Install skirting over the expansion gap, fasten these to the wall only. In places where profiles or skirtings cannot be placed, fill the expansion gaps with an elastic filler.

#8
Protect all exposed edges of the flooring by installing skirting and/or transition strips. A transition profile should be installed between two separate rooms or spaces e.g., corridor and bedroom. A minimum expansion gap of 3-5mm should be kept between the two spaces
#1
Floors should be flat, smooth, permanently dry, clean, and free all foreign material such as dust, wax, solvents, paint, grease, oils, and old adhesive residue. The surface must be hard and dense, and free from powder or flaking. Concrete slabs must be dry with no visible moisture.

#3
Use several spacers to maintain a 2-5mm expansion gap around the perimeter of the room. Lock the short ends together to complete your first row. Cut the planks as needed to fit the space. Kim Korea LVT can easily be cut using a utility knife. When cutting the vinyl plank, use the knife to make a firm cut on the surface then breaks off the plank along the cut.
